Ever thought about harnessing the power of the sun to whip up a delicious meal? It’s eco-friendly, budget-friendly, and surprisingly easy to get started with. And it works great off grid, of course!
How Does it Work?
Imagine a tiny greenhouse for your food. That’s basically what a solar cooker is!
Sunlight enters through a transparent cover (usually glass or plastic) and heats up the dark interior. This trapped heat cooks your food just like a regular oven. Pretty cool, right?
Types of Solar Powered Cookers (Solar Ovens)
There are three main types of solar cookers:
- Box Cookers: These sturdy boxes look like miniature houses with reflective panels on the inside. They’re great for beginners and perfect for simmering stews and baking breads.
- Panel Cookers: Think of these as foldable ovens. They use reflective panels to concentrate sunlight onto a cooking pot. They’re portable and ideal for camping trips.
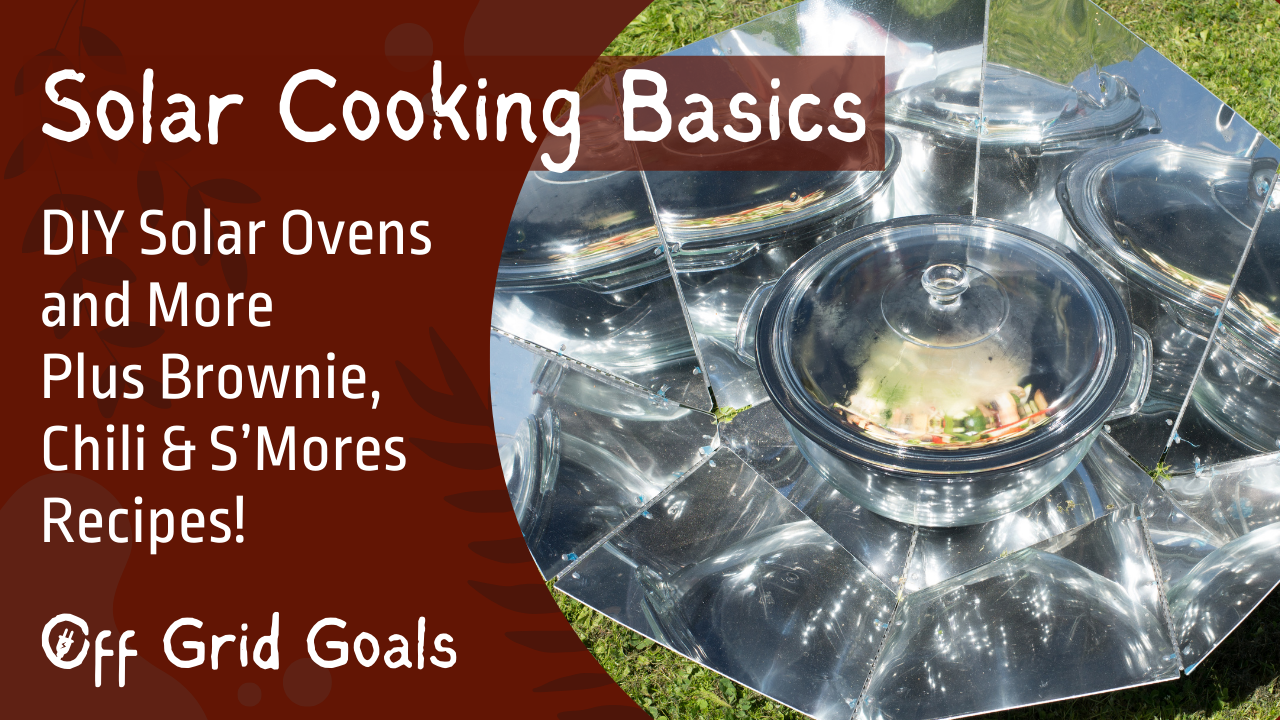
- Parabolic Cookers: They use a curved dish to focus sunlight like a magnifying glass. They cook food super fast and can even handle frying!
No need to rush out and buy fancy equipment just yet! You can build a simple box cooker yourself with a cardboard box, aluminum foil, and some clear plastic sheeting. There are tons of DIY tutorials online to get you started. Here’s one!
Ready to Get Cooking? Fire Up the Sun!
Here are a few easy recipes to kickstart your solar culinary adventure:
Sun-Kissed Solar Brownies
Ingredients:
- ½ cup (1 stick) unsalted butter, melted
- 1 cup granulated sugar
- 2 large eggs
- 1 teaspoon pure vanilla extract
- ¾ cup unsweetened cocoa powder
- ½ cup all-purpose flour
- ½ teaspoon baking powder
- ¼ teaspoon salt
- ½ cup chocolate chips (optional)
- ½ cup chopped nuts (optional)
Instructions:
- Prep your solar cooker: Preheat your solar cooker according to its specific instructions. Box cookers typically need preheating for at least 30 minutes to reach optimal temperature.
- Mix dry ingredients: In a medium bowl, whisk together the cocoa powder, flour, baking powder, and salt.
- Combine wet ingredients: In a large bowl, cream together the melted butter and sugar until light and fluffy. Beat in the eggs one at a time, then stir in the vanilla extract.
- Combine everything: Gradually add the dry ingredients to the wet ingredients, mixing until just combined. Fold in chocolate chips and nuts (if using).
- Bake in the sun: Pour the batter into a greased 8×8 inch baking pan. Place the pan inside your preheated solar cooker and cook for approximately 1-2 hours, or until a toothpick inserted into the center comes out clean. Cooking time will vary depending on your specific solar cooker and weather conditions.
Tips:
- Black or dark metal pans absorb heat better for solar cooking.
- Monitor your brownies periodically. Since there’s no way to adjust the temperature in a solar cooker, you may need to adjust the cooking time slightly.
- Consider adding additional heat-absorbing ingredients like chopped dried fruit or espresso powder to the batter.
Variations:
- Fudge Brownies: Add an extra ¼ cup of unsweetened cocoa powder for a richer chocolate flavor.
- Peanut Butter Brownies: Swirl in some peanut butter before baking, or top the finished brownies with a peanut butter frosting.
- Mint Brownies: Add ½ teaspoon of peppermint extract to the batter and top the brownies with crushed candy canes after baking.
Solar S’mores
Ingredients:
- Graham crackers (2 per s’more)
- Marshmallows (1 large or 2-3 mini per s’more)
- Chocolate bars (milk chocolate, dark chocolate, or your favorite type) – broken into squares
Instructions:
- Prep your solar cooker: Preheat your solar cooker according to its specific instructions. Box cookers typically need preheating for at least 30 minutes to reach optimal temperature.
- Assemble your s’mores: Since the marshmallow takes the longest to cook in a solar oven, unlike a traditional campfire, we’ll build the s’more a little differently. Place one graham cracker on a heat-resistant plate. Top it with a piece of chocolate.
- Cook in the sun: Place the plate with the assembled s’more (graham cracker, chocolate) inside your preheated solar cooker. The chocolate should start to melt relatively quickly under the sun’s rays.
- Toast the marshmallow: While the chocolate is melting, you can toast the marshmallow separately on a small heat-resistant dish or metal skewer (depending on your solar cooker setup). Move the marshmallow around occasionally to get even browning. Safety tip: Be sure the metal skewer is cool to the touch before handling it.
- Assemble and enjoy! Once the chocolate is melted and the marshmallow is toasted to your liking (golden brown and slightly puffed), carefully remove the plate and marshmallow from the solar cooker. Place the toasted marshmallow on top of the melted chocolate on the graham cracker. Top it all off with the other graham cracker and gently press down to create your delicious solar s’more!
Tips:
- Use a heat-resistant plate or dish that can withstand the sun’s heat.
- Monitor your s’mores frequently. Cooking time will vary depending on your specific solar cooker, weather conditions, and how toasty you like your marshmallows.
- You can use aluminum foil to reflect extra heat onto your s’mores if needed.
Variations:
- Fruity S’mores: Add a layer of sliced strawberries or bananas between the chocolate and marshmallow.
- Peanut Butter S’mores: Spread a thin layer of peanut butter on one of the graham crackers before adding the chocolate.
Spicy Solar Chili
This hearty chili is perfect for a solar cooker because it thrives on low and slow cooking, allowing all the flavors to meld together beautifully. The beauty of chili is its versatility, so feel free to adjust the ingredients to your taste and what you have on hand.
Ingredients:
- 1 tablespoon olive oil
- 1 medium onion, chopped
- 1 green bell pepper, chopped (optional for a milder chili)
- 2 cloves garlic, minced
- 1 pound ground beef or turkey (or lentils for a vegetarian option)
- 1 (15-ounce) can diced tomatoes, undrained
- 1 (15-ounce) can kidney beans, drained and rinsed
- 1 (15-ounce) can black beans, drained and rinsed
- 1 (15-ounce) can pinto beans, drained and rinsed
- 4 cups beef broth or vegetable broth
- 2 tablespoons chili powder
- 1 teaspoon smoked paprika
- 1/2 teaspoon dried oregano
- 1/4 teaspoon cayenne pepper (optional, for an extra kick)
- Salt and freshly ground black pepper to taste
Instructions:
- Prep your solar cooker: Preheat your solar cooker according to its specific instructions. Box cookers typically need preheating for at least 30 minutes to reach optimal temperature.
- Sauté the veggies: In a large Dutch oven or oven-safe pot with a tight-fitting lid, heat olive oil over medium heat. Sauté the onion, green pepper (if using), and jalapeno until softened, about 5 minutes. Stir in the garlic and cook for another minute, until fragrant.
- Brown the meat: Add the ground beef or turkey (or lentils) to the pot and cook until browned, breaking it up with a spoon as it cooks. Drain any excess grease.
- Combine everything: Stir in the diced tomatoes, drained and rinsed beans, broth, chili powder, paprika, oregano, and cayenne pepper (if using). Season with salt and freshly ground black pepper to taste. Bring to a simmer on the stovetop.
- Cook in the sun: Carefully transfer the pot to your preheated solar cooker. Cook for 2-3 hours, or until the chili is thickened and the flavors have melded. You may need to adjust the cooking time depending on your specific solar cooker and weather conditions. Stir occasionally to ensure even cooking.
Tips:
- Black or dark pots absorb heat better for solar cooking.
- Consider preheating the chili on the stovetop to save some cooking time in the solar cooker.
- You can add other vegetables to the chili, such as chopped carrots, corn, or zucchini.
- Serve your solar chili with your favorite toppings like shredded cheese, sour cream, chopped onions, cilantro, or avocado..
Bonus Tip: Since solar cookers rely on sunshine, be sure to choose a clear and sunny day for your culinary creations. Also, remember that solar cooking takes a bit longer than traditional methods, so plan accordingly.
Solar cooking is a fun, easy, and eco-friendly way to prepare delicious meals. So next time the sun is shining, why not ditch the stove and embrace the power of the solar kitchen? With a little creativity and sunshine, you can whip up amazing dishes that are good for you and good for the planet!


